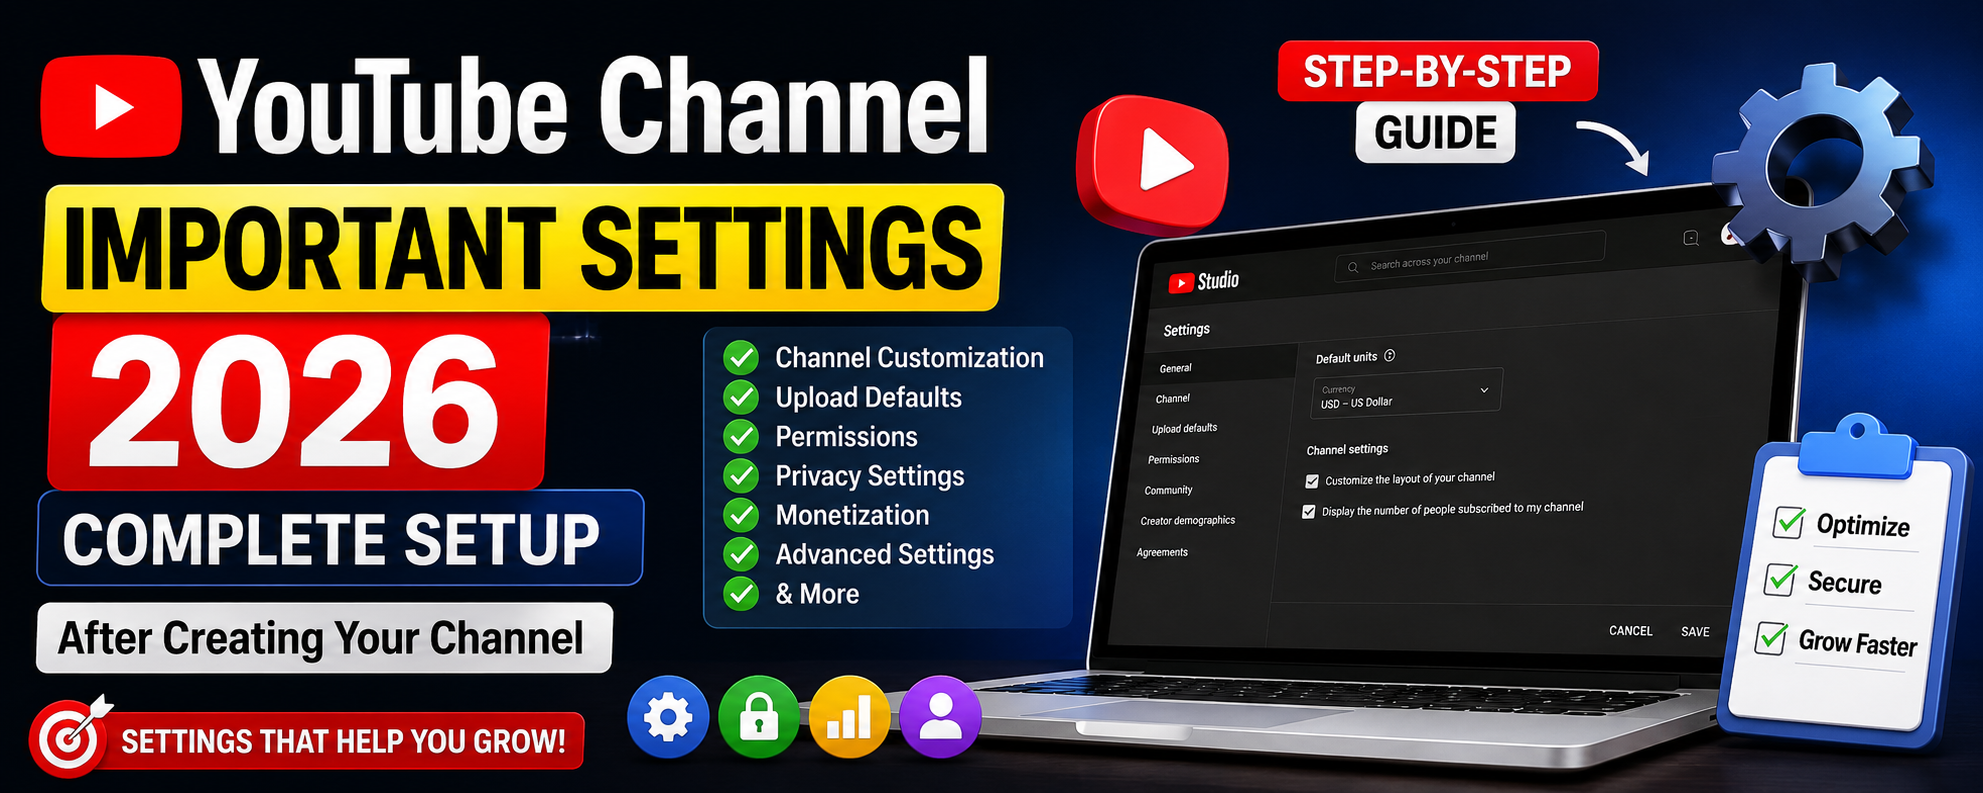
YouTube Channel Important Settings 2026 | Complete Setup After Creating Your Channel (Step-by-Step)

YouTube Channel Important Settings 2026
Published: July 12, 2026 | Finzaro360
So you just created your YouTube channel. Congrats, that part is the easy bit. Now comes the part almost nobody talks about, and it’s the part that quietly decides whether your channel looks professional or looks like it was thrown together in five minutes.
I made this mistake myself when I started. I uploaded my first three videos before I even touched my channel settings. No proper banner, no description, no links, nothing. Looking back, that was a waste of good videos because nobody trusted the channel enough to click subscribe.
So before you upload anything else, let’s go through the settings you actually need to set up right after creating your channel. This isn’t a huge complicated list, it’s maybe 30-40 minutes of work, but it makes your channel look ten times more credible.
Step 1: Set Up Your Profile Picture and Banner Properly
This is the first thing anyone sees, so don’t skip it or rush it.
For your profile picture, use something clear and recognizable, ideally a logo if you’re building a brand, or a clean photo of your face if you’re the face of the channel. Keep it simple, it shows up tiny in search results and suggested videos, so busy or text-heavy images just look blurry.
For your banner, YouTube recommends 2560 x 1440 pixels, but remember different devices crop it differently. Keep your important text and logo centered so it doesn’t get cut off on mobile. A good banner usually includes your channel name, what you post about, and maybe your upload schedule.
Step 2: Write a Real Channel Description
Go to your channel, click Customize Channel, then head to the About section. This is where a lot of people just write one lazy line like “welcome to my channel” and move on.
Don’t do that. Write a proper description that explains:
- What your channel is about
- Who it’s for
- What kind of videos you post and how often
Try to naturally include a few keywords related to your niche here too, since this text actually helps YouTube understand what your channel is about and who to recommend it to. If your channel is about tech reviews, mention “tech reviews,” “gadget unboxing,” or whatever phrases people would actually search for.
Step 3: Add Your Links (Website, Social Media, Everything)
Right below your description, there’s a section for links. This is honestly one of the most underused parts of a new channel.
Add your website link here. If you run a blog like Finzaro360, this is where that connection between your channel and your site really starts working both ways. People watching your video can jump straight to your blog for the full written guide, and people on your blog already know your channel exists because of the links you added earlier, like we talked about in our post on driving organic website traffic from YouTube.
Also add your other social profiles here if you’re active on them. It doesn’t need to be five platforms, just the ones you actually post on.
Step 4: Set Your Contact Email and Business Info
If you ever want brand deals, sponsorships, or even just questions from viewers, go to Advanced Settings and add a business contact email. A lot of new creators skip this and then wonder why no brand ever reaches out. Brands genuinely check this before considering a collab.
Step 5: Channel Keywords (Yes, This Still Matters)
Under Settings, then Channel, then Basic Info, there’s a field for channel keywords. It’s a small box, but it helps YouTube’s algorithm understand your overall channel topic, not just individual videos.
Add 5 to 10 phrases that describe your channel as a whole. Keep them relevant, don’t stuff in random trending words that have nothing to do with your content, that usually backfires more than it helps.
Step 6: Turn On Monetization Eligibility Settings Early
Even if you’re nowhere near the subscriber or watch hour requirement yet, go into your monetization tab and check what’s needed for your region. Some settings, like linking an AdSense account, take time to set up properly, so it’s smarter to have this ready before you actually qualify rather than scrambling later.
If you’re also experimenting with AI-generated content for your channel, it’s worth reading our guide on making AI videos for YouTube and earning money before you set your monetization preferences, since some settings affect how that kind of content gets treated.
Step 7: Set Upload Defaults
Go to Settings, then Upload Defaults. This saves you time on every future video because you can pre-set things like:
- Default privacy setting (so you don’t accidentally publish an unfinished video publicly)
- Default category
- Default language
- A default description template, which is great if you always include the same links and calls to action
Speaking of descriptions, this is also where a lot of channels miss out on traffic. A well-written description with the right structure can genuinely help your videos get discovered, something we broke down in detail in our post on YouTube SEO tips to increase website traffic.
Step 8: Set the “Made for Kids” Setting Correctly
This one is important and easy to get wrong. YouTube will ask if your content is “made for kids” for every upload, and this isn’t just a formality, it actually removes features like comments, notifications, and personalized ads if marked yes.
Be honest about this based on your actual content and audience, not based on what seems easier. Getting this wrong can limit your channel’s features long term or cause issues with your account.
Step 9: Organize Your Content With Playlists
Even with just a few videos, start grouping them into playlists based on topic. This does two things. First, it keeps new visitors watching longer because YouTube automatically plays the next video in the playlist. Second, it makes your channel look organized instead of just a random pile of uploads.
Step 10: Set Up Your Watermark and End Screens
Go to Customization, then Branding, and upload a small watermark, usually your logo. This appears in the corner of every video and gives viewers a quick subscribe button without leaving the video.
Also set up a default end screen template you can reuse across videos, linking to your best video, a playlist, and a subscribe button. This alone can noticeably increase your subscriber count over time because it’s shown at the exact moment someone finished watching and is deciding what to do next.
A Quick Personal Note
Here’s the honest truth. None of these settings alone will make your channel blow up. But together, they build trust. When someone lands on your channel and everything looks clean, organized, and clearly explains who you are and what you post, they’re way more likely to subscribe than if they land on a channel with a blank banner and a one-line description.
I actually walk through this entire setup process visually in a video, which might be easier to follow along with while you’re setting things up yourself. You can check that out on my channel here: Finzaro360 on YouTube.
Final Thoughts
Setting up your channel properly right after creating it saves you from having to go back and fix things later, and it makes every video you upload from that point on look more credible. Take the 30-40 minutes, go through these settings one by one, and your channel will genuinely look and feel more professional from day one.
If you’re building both a blog and a YouTube channel together like we do at Finzaro360, these two grow each other. Your blog posts bring readers to your videos, and your videos bring viewers back to your blog. It’s worth doing both properly from the start instead of treating them as separate projects.
Related Reading on Finzaro360
- YouTube SEO Tips to Increase Website Traffic in 2026
- How to Drive Organic Website Traffic from YouTube in 2026
- How to Make AI Videos for YouTube and Earn Money in 2026
- Common Errors During and After Publishing a Blog Post
🔔 Subscribe to Finzaro360 on YouTube for more step-by-step guides on growing your channel and your website together.